DIY Planters from Upcycled Materials
Transform everyday cast-offs into stylish planters with easy, budget-friendly tutorials. Grow greener with creative, durable designs for any space.
Why Upcycle Planters: Turning everyday castoffs into garden homes is a smart, stylish way to practice upcycling and refresh your spaces. Repurposed containers become unique planters that reflect your personality, save money, and reduce waste. An old colander, chipped teapot, or crate can transform into a conversation piece that suits rustic, modern, or eclectic decor. Upcycled planters also adapt beautifully to small spaces, fitting shelves, windowsills, and balconies where traditional pots feel bulky. Because you choose the container, you can tailor root space, height, and width to the plant's needs and the look you want. This approach encourages creativity: mixing textures like metal with moss, pairing glossy foliage with matte clay, or clustering mini planters into a dramatic vignette. Beyond aesthetics, you gain a sense of connection to your home and garden, learning how different materials handle moisture, light, and temperature. The result is greener living, both in color and in footprint, cultivated with resourcefulness and charm.
Choosing and Prepping Materials: Start by collecting sturdy, clean items with enough volume for healthy root growth. Think food tins, mason jars, baskets, boots, drawers, or plastic bottles. For edible plants, prioritize non-toxic containers and avoid items that once held harsh chemicals. Smooth sharp edges with sandpaper, tighten loose hardware, and add handles or hooks if you plan to hang the planter. Give everything a thorough wash with mild soap, then dry completely to prevent mildew. If paint is flaking, scrape and seal with a suitable primer; when in doubt, apply a clear, water-based sealer inside porous materials like terracotta or wood to slow moisture loss. For outdoor use, consider UV-resistant finishes to preserve color. Evaluate stability and weight once soil and water are added; heavy pieces may need felt pads or a tray to protect surfaces. Finally, sketch your layout so colors, heights, and textures complement each other and the surrounding furniture or landscaping.
Drainage and Moisture Control: Effective drainage is the difference between thriving roots and soggy disappointment. Many upcycled containers lack holes; if the material allows, drill several small openings and cover them with mesh or a coffee filter to keep soil from escaping. For metal, use a sharp bit; for ceramic or glass, proceed slowly with the correct bit and gentle pressure. If you cannot add holes, build a false bottom: a layer of pebbles or lightweight clay balls, a thin sheet of mesh, then soil. Tuck a wicking cord through the layers so excess water can escape into a saucer or lower reservoir. Another option is the double-pot method, where a nursery pot with holes sits inside your decorative container, allowing easy watering and checks on moisture. Seal seams with silicone to prevent leaks in repurposed drawers or crates. Match watering habits to the setup, and always observe how quickly the medium dries, adjusting routines before plants show stress.
Soil and Plant Pairings: Upcycled planters shine when you match the potting mix and plant to the container. Succulents and cacti prefer a gritty, fast-draining blend and shallow vessels like tins, shells, or low bowls. Herbs and leafy greens enjoy a fertile, moisture-retentive mix in colanders, buckets, or boxes with ample aeration. Trailing plants such as pothos or string-of-pearls cascade beautifully from pitchers and hanging baskets, softening hard edges. For glass vessels with no holes, choose moisture-loving species, semi-hydro setups, or create miniature terrariums with moss, ferns, and charcoal. Consider light and temperature: reflective metal amplifies sun, while thick ceramic buffers heat and cold. Add a slow-release fertilizer or plan gentle liquid feeds during active growth. Right-size the roots: cramped containers suit compact herbs and succulents; deeper crates accommodate tomatoes or dwarf shrubs. Above all, observe the plant's signals—leaf color, turgor, and growth rate—and tweak soil blends until the container and species feel perfectly matched.
Metal Magic: Cans and Tins: Food cans, tea tins, and vintage canisters become tough, character-rich planters with minimal effort. Remove labels, soak away adhesive, and buff any burrs. Punch drainage holes in the base, then add mesh and a light layer of grit. Paint for a colorful accent or embrace a weathered patina; either way, protect with a rust-inhibiting clear coat if moisture exposure is high. For edibles, insert a food-safe liner such as a nursery pot or silicone sleeve to prevent direct contact with metal. Create a magnetic herb garden by gluing strong magnets to mini tins and mounting them on a metal board or fridge side. For railings, secure tins in hose clamps screwed to a wooden strip, spacing them for airflow. Add cork or felt feet to protect shelves and reduce noise. Group cans by height and hue for an artful cluster, and label with painted stripes, stamped tags, or hand-lettered markers for a tidy, culinary-ready display.
Glass and Ceramic Reinventions: Jars, bottles, and chipped mugs offer crisp lines and an elevated look, especially where you want to showcase roots or layered substrates. Since many lack holes, design for controlled moisture: add pebbles, activated charcoal, and a breathable barrier before the soil. Choose plants that tolerate steadier humidity, like fittonia, peperomia, or ferns, or build a terrarium with moss and miniature accents. For a clean watering routine, switch to LECA or other inert media, and feed with diluted nutrients; this creates a semi-hydro self-watering system when a wick or reservoir is included. Hang jars in macrame slings or wire cradles to exploit vertical space and catch light. If algae appears, hide the lower third in a basket sleeve or wrap with burlap. Mugs work beautifully for succulents when you drill a discreet hole or keep a small nursery pot inside. The result is refined, low-clutter greenery that doubles as functional decor.
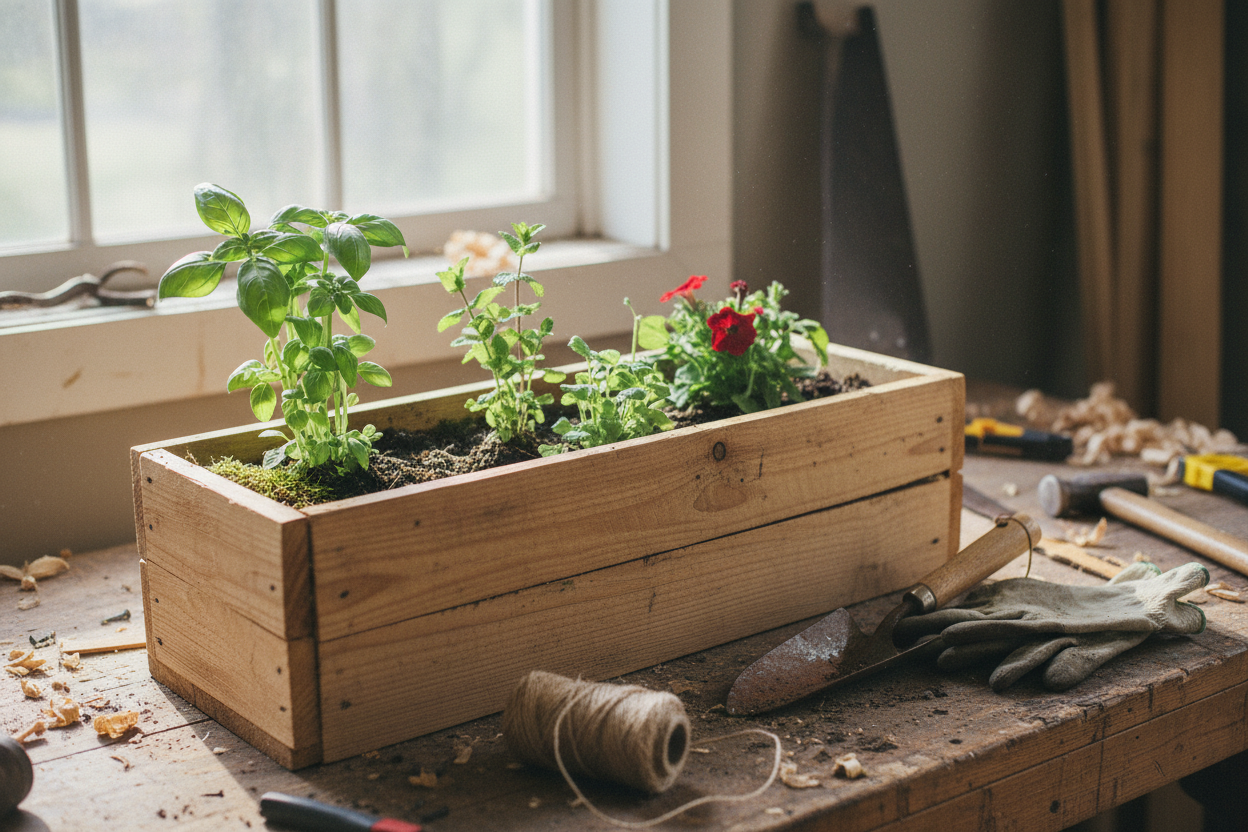
Wood and Plastic, Vertical and Beyond: Crates, drawers, and pallet sections bring warmth and scale to a vertical garden or porch vignette. Choose untreated or naturally durable wood, reinforce corners, and line with landscape fabric or burlap to hold soil while allowing breathability. Stain or seal the exterior to resist weather, then stagger planting pockets for cascading thyme, strawberries, or trailing vines. Plastic bottles and jugs are lightweight and perfect for stacked towers, wall rows, or self-watering planters; cut windows, add wicking strips, and connect a simple drip line for low-maintenance care. For balconies, mount shallow boxes to rails with sturdy brackets and add a reservoir layer to reduce runoff. Maintenance ties it all together: prune regularly, refresh mulch, top up soil, and flush containers to prevent salt buildup. Finish with labels, stenciled numbers, or a cohesive color palette so the collection reads as intentional decor. With rhythm, repetition, and texture, your upcycled planters become a living design statement.